Bead Board Wall Installation: Tools, Tips & Common Mistakes
Many homeowners, about 75%, see installing bead board walls as a key part of home renovation. It’s clear why – a well-done bead board wall can bring elegance and style to any room. This makes it a popular choice in modern homes. To get a professional look, it’s important to use the right tools and techniques.
Whether you’re tackling a single room or your whole house, knowing how to install bead board is key. This knowledge helps you achieve the look you want.
When thinking about installing bead board, consider its beauty and durability. But also think about the challenges of the installation. Learning about the tools and tips needed for a successful install can help your bead board wall look great and last long. From picking the right bead board to avoiding common mistakes, the process needs careful planning and detail.
Key Takeaways
- Proper installation is crucial to achieving a professional-looking bead board wall
- Using the right tools and techniques can make a significant difference in the final result
- Beadboard paneling can add elegance and sophistication to any room
- Understanding the benefits and challenges of installing bead board is essential to a successful installation
- A well-installed bead board wall can increase the value of your home
- Installing bead board requires careful planning and attention to detail
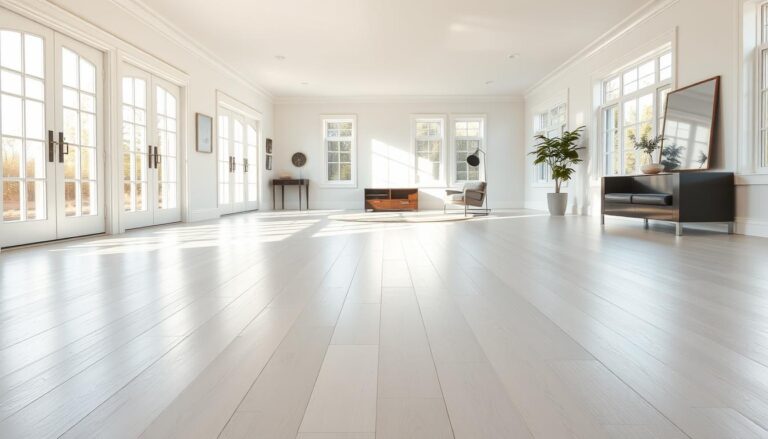
Understanding Bead Board Walls and Their Benefits
Choosing materials for your space is important. You want them to look good and work well. Bead board walls are a popular choice. They offer a unique look without costing too much.
Installing bead board is easy. You can put it over old walls, perfect for updates. There are many design ideas, from classic to modern. This lets you make your space your own.
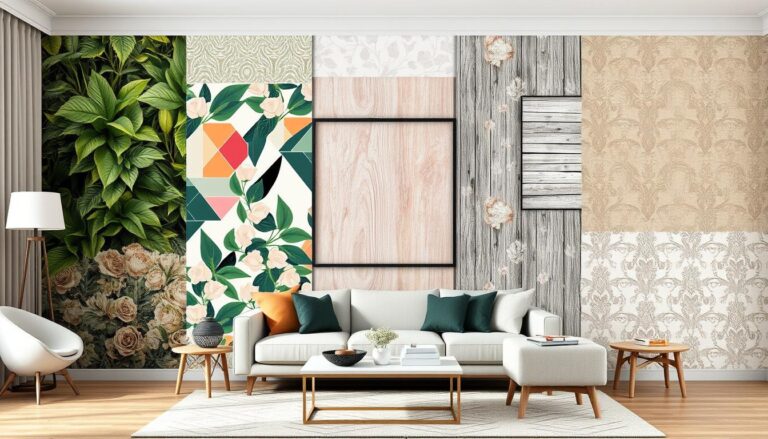
Traditional vs Modern Bead Board Styles
Traditional bead board has a classic look. Modern bead board is more contemporary. Both can make your space elegant. And with affordable bead board, you can get the look you want without spending too much.
Advantages of Choosing Bead Board
Bead board is durable and easy to care for. It’s also a cost-effective choice. It adds texture and interest to walls. With the right design, you can make a space that shows off your style.
| Benefits of Bead Board | Description |
|---|---|
| Durability | Resistant to wear and tear |
| Easy Maintenance | Easy to clean and maintain |
| Cost-Effectiveness | Affordable option for wall design |
Essential Tools for Bead Board Installation
When installing bead board, having the right tools is key. You’ll need materials and equipment for a successful bead board wall installation. This includes bead board panels, nails, and adhesives, plus tools for measuring, cutting, and fitting.
To start, gather these essential tools:
- Tape measure
- Level
- Pencil and marker
- Circular saw or hand saw
- Drill and bits
- Hammer and nails
- Adhesive and caulk
Don’t forget safety when installing bead board. Wear a dust mask, safety glasses, and use a ladder or step stool for high areas. With the right tools and safety, you’ll do a great bead board wall installation.

Choose quality tools for easier and more efficient bead board installation. With practice, you’ll get a professional bead board wall installation that beautifies your home.
Measuring and Planning Your Space
Installing a bead board wall requires careful measurement and planning. You must consider the room’s size, door and window locations, and any obstacles. Start by measuring the area’s length and width. Note any electrical outlets or switches that need special attention.
Creating a detailed layout is key for a successful installation. Use graph paper to draw the room’s layout and mark the bead board wall’s location. This helps you plan and make adjustments before starting. Think about the style and pattern you want for your bead board wall.
Calculating Material Requirements
To figure out how much material you need, calculate the area’s square footage. Multiply the length by the width to get the total square footage. Then, add 10-15% to account for cuts and waste. This will tell you how much beadboard paneling you need.
Creating a Layout Plan
Having a layout plan is crucial for a proper bead board wall installation. Use a pencil to mark the panel locations on the wall. Remember to include space for outlets and switches, and plan around any obstacles.

Accounting for Outlets and Switches
When installing a bead board wall, remember to plan for outlets and switches. You can use special plates or plan the installation around them. Always turn off power before starting and consider a professional if you’re unsure.
By following these steps and considering your space’s unique features, you can create a beautiful bead board wall. Take your time and plan well for a successful installation.
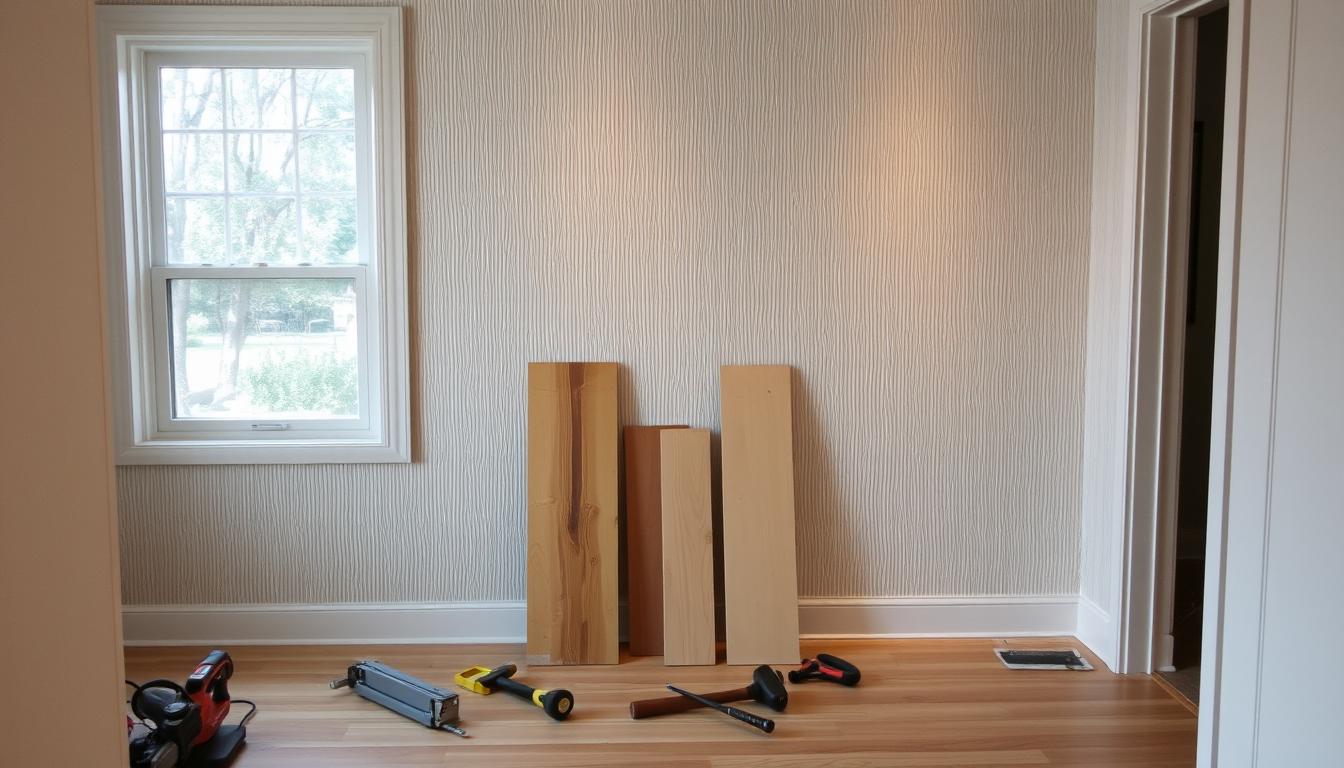
Preparing Your Walls for Installation
To get a professional look with bead board, you need to prep your walls. Clean and prime them for a smooth surface. Also, fix any damage for a perfect finish. With painted bead board, you can pick from many colors and patterns.
Popular choices include white or cream for a classic feel, or bold colors for a unique vibe. You can play with patterns like horizontal or vertical to make the space interesting. By preparing well and choosing your design, you’ll get a stunning bead board wall.
Here are some key steps to follow when preparing your walls for bead board installation:
- Clean the walls thoroughly to remove any dirt, dust, or debris
- Prime the walls to create a smooth surface for the bead board to adhere to
- Repair any holes or cracks in the walls to ensure a seamless finish
- Consider your bead board design ideas and choose a color scheme and pattern that complements the room
By following these steps and considering your design options, you can create a beautiful and unique bead board wall. It can add elegance and sophistication to any room. Whether you want a classic or modern look, painted bead board walls can make a statement.
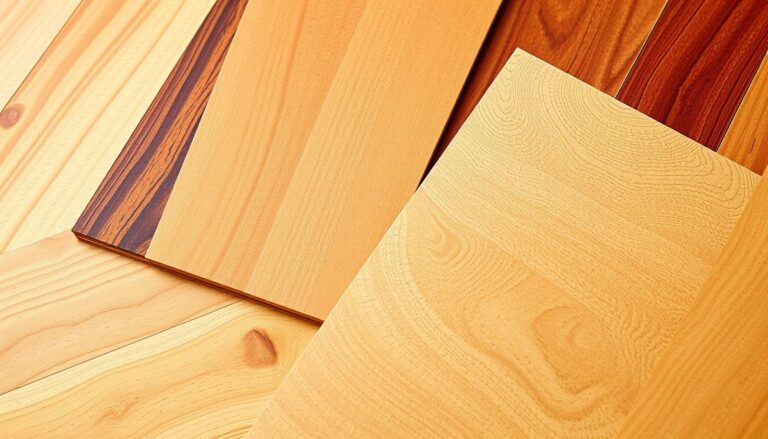
Selecting the Right Type of Bead Board
Choosing the right bead board for your beadboard half wall is key. There are many materials, moisture resistance levels, and sizes to pick from. It’s important to think about what you need and the room’s use. You want your bead board wall installation to look good and work well.
Here are some things to consider:
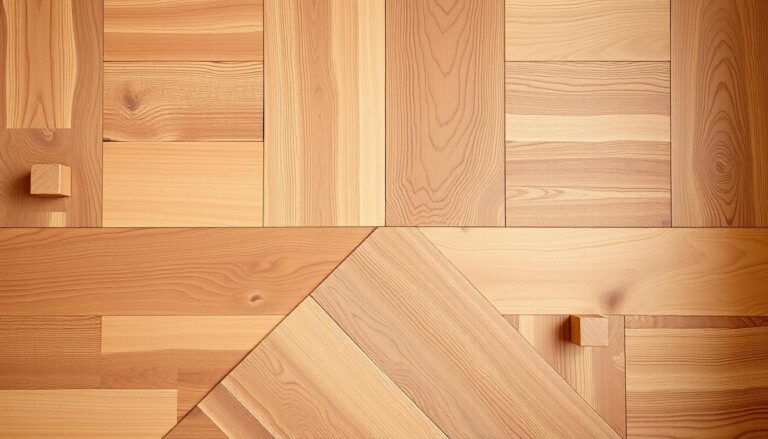
- Material options: Bead board is made from wood, MDF, and PVC.
- Moisture resistance: For bathrooms or kitchens, choose moisture-resistant options to avoid damage.
- Size and pattern variations: There are many sizes and patterns to match your room’s style.
By thinking about these points, you can pick the best bead board for your beadboard half wall. Also, consider the look you want and the room’s purpose. This will help you get the most out of your bead board installation.

Material Options Available
Each material has its own advantages and disadvantages. Knowing this will help you choose the right one for your bead board wall installation.
Moisture Resistance Considerations
Moisture-resistant bead board is a must for wet areas like bathrooms and kitchens. It prevents damage and makes your beadboard half wall last longer.
Size and Pattern Variations
There are many sizes and patterns to choose from. Pick the one that fits your room’s style and design. This will make your bead board wall installation a success.
Step-by-Step Bead Board Wall Installation Process
When installing bead board, it’s key to follow a step-by-step guide. This guide helps you prepare the walls, measure and cut the bead board, and install the panels.
To begin, prepare your walls. Clean them, fill holes or cracks, and make sure they’re level and plumb. After preparing your walls, start installing bead board panels from the bottom up.
Here are the main steps:
- Measure and cut the bead board panels to fit your wall, leaving a small gap for expansion.
- Apply adhesive to the back of the panel and press it firmly into place, ensuring it’s level and secure.
- Use nails or screws to secure the panel to the wall, spacing them evenly apart.
- Repeat the process for each panel, working your way up the wall.
By following these steps carefully, you can create a beautiful bead board wall. It will add beauty and character to your space.

Always follow the manufacturer’s instructions for your bead board. If you’re unsure about any step, don’t hesitate to ask for help.
| Step | Description |
|---|---|
| 1 | Prepare the walls for installation |
| 2 | Measure and cut the bead board panels |
| 3 | Install the panels, starting from the bottom |
Cutting and Fitting Techniques
Installing beadboard paneling requires careful cutting and fitting. You want your design to look professional with clean cuts and perfect fits. The right tools and techniques are key to achieving this.
For clean cuts, a miter saw or a circular saw with a fine-tooth blade works best. These tools ensure smooth cuts without splintering the paneling. For curved cuts, a coping saw or jigsaw is best for fitting around corners.
Handling irregular spaces can be tricky. But with the right approach, you can make seamless fits. Measure, mark, and cut carefully to create custom pieces that fill gaps. Patience is crucial for a perfect fit, leading to a stunning finish.

- Measure twice, cut once to avoid errors
- Use a pencil to mark cut lines, rather than a marker
- Use a straightedge or guide to ensure straight cuts
- Take your time and work patiently to achieve precise fits
By using these tips, you can create a stunning beadboard paneling installation. Remember, the effort you put in will be worth it for a beautiful finish.
| Tool | Description |
|---|---|
| Miter Saw | Used for making precise, angled cuts |
| Circular Saw | Used for making straight cuts with a fine-tooth blade |
| Coping Saw | Used for making curved cuts around corners |
Proper Adhesive and Nailing Methods
When you’re installing a bead board wall, picking the right adhesive and nails is key. You need to make sure your beadboard half wall sticks well to the surface. This prevents damage or movement later on.
Choosing the right adhesive and nails is important for your project. There are many types of adhesives out there. They include construction adhesives, wood glues, and panel adhesives. Each has its own benefits and drawbacks, depending on your project’s needs.
When picking an adhesive, consider a few things:
- Moisture resistance
- Bond strength
- Drying time
- Compatibility with your bead board material
Also, you’ll need to use the right nailing methods to hold your bead board in place. You might need to use both nails and adhesive for a strong bond.

By following the manufacturer’s instructions and being careful, you can have a successful bead board wall installation. Always read and follow the adhesive and nail instructions. Also, make sure your surface is ready before you start.
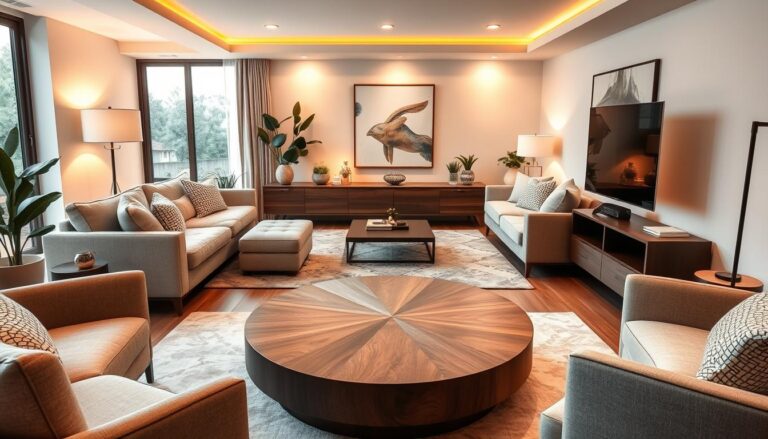
Finishing Touches and Trim Work
As you near the end of your bead board wall project, focus on the finishing touches and trim work. This stage is key to enhancing your beadboard paneling’s look. You can pick from many trim work and molding designs to fit your style.
When it comes to caulking, attention to detail is crucial. Make sure to fill all gaps and cracks between the bead board wall and other surfaces. This will give your wall a seamless and polished finish.
Caulking Techniques
To get professional-looking results, use high-quality caulk that matches your trim work’s color. Apply a thin, even layer. Then, smooth it out with a damp cloth to avoid excess caulk.
Adding Decorative Moldings
Decorative moldings can add elegance to your bead board wall. You can pick from traditional or modern styles to match your decor. Make sure moldings are level and securely attached to the wall to prevent shifting.
Some popular moldings for beadboard paneling include:
- Chair rail moldings
- Crown moldings
- Baseboard moldings
By following these tips, you can achieve a beautifully finished bead board wall. Take your time and be patient during the finishing stages. This will ensure a professional-looking result that you can be proud of.
| Molding Type | Description |
|---|---|
| Chair Rail | A molding installed on the wall about 2-3 feet from the floor |
| Crown | A molding installed where the wall meets the ceiling |
| Baseboard | A molding installed along the base of the wall |
Painting Your Bead Board Wall
Painting your bead board wall right is key for a smooth finish. This is crucial for painted bead board walls as they can show brush strokes easily. Start by picking a high-quality paint made for bead board. Think about color, finish, and how long it lasts.
For a bright look, try semi-gloss or high-gloss paint. For something more subtle, flat or matte paint works well. Always follow the paint’s instructions for how to apply and dry.
- Use a primer for a smooth surface
- Paint in thin, even coats to avoid drips
- Choose a good brush or roller for a smooth finish
- Consider paint with primer to save time
By using these tips and the right techniques, you can get a beautiful finish on your painted bead board walls. Think about your bead board design ideas too. Pick a paint color and finish that fits your design.
| Paint Type | Finish | Durability |
|---|---|---|
| Semi-Gloss | Bright, Reflective | High |
| High-Gloss | Very Bright, Reflective | Very High |
| Flat/Matte | Subtle, Understated | Medium |
Troubleshooting Common Installation Problems
Installing bead board walls can sometimes lead to common issues. But, with the right approach, you can solve these problems and get a great result. Uneven panels often stem from wrong measurements or installation. To fix this, use shims to level the panels or re-measure and re-install them.
Gaps between the beadboard half wall and the walls or floors are another common problem. These gaps can be due to poor fitting or not enough caulking. To solve this, fill the gaps with caulk or re-fit the panels for a tight seal. Remember, patience and persistence are crucial when fixing these issues, as they might take a few tries.
Here are some common problems and their solutions:
- Uneven panels: use shims to level or re-install with correct measurements
- Gaps between panels: use caulk to fill gaps or re-fit panels
- Nail holes: use filler to fill holes and sand to smooth surface
By using these troubleshooting tips, you can tackle common problems and get a stunning bead board wall. Always follow the manufacturer’s instructions and be careful when using power tools and materials.
Maintaining Your Bead Board Walls
To keep your bead board wall looking great, regular care is key. This means cleaning and fixing any damage. Use a soft cloth and mild detergent to wipe down the walls. This removes dirt and grime.
For tough stains, a gentle cleaning product made for bead board walls works well. Avoid harsh chemicals or abrasive materials. They can harm the wall and reduce its quality.
Cleaning Methods
There are several ways to keep your bead board wall clean. These include:
- Dusting with a soft cloth
- Wipe down with a damp cloth
- Using a gentle cleaning product
Repair Techniques
If your bead board wall shows damage, fix it quickly to avoid more harm. Use a filler made for beadboard paneling to fill holes or cracks. Then, sand it smooth.
By following these tips, you can make your bead board wall last longer and look better. Regular cleaning and repairs also prevent bigger problems like water damage or structural issues.
Always follow the manufacturer’s instructions when cleaning or repairing your bead board wall. This ensures you use the right products and avoid damage to the paneling.
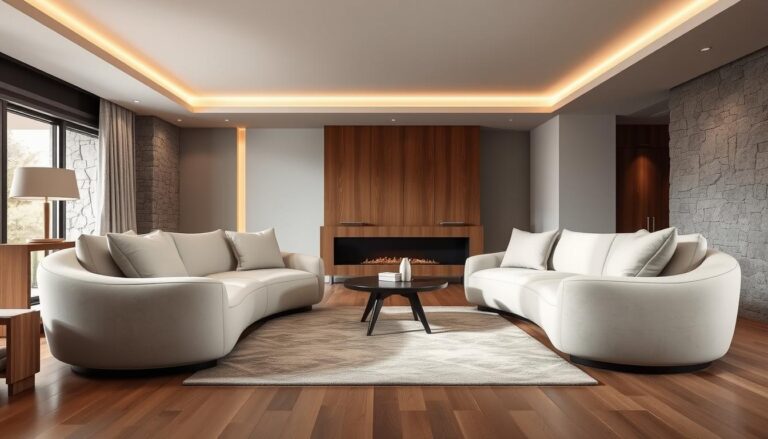
Conclusion: Enjoying Your Newly Installed Bead Board Wall
Congratulations on installing your beautiful bead board wall! You’ve used the right tools and techniques to make your space charming. The classic look of beadboard half walls adds warmth and invites everyone in.
Step back and admire your work. Feel proud of a job well done and the value you’ve added to your home. Remember to keep your wall clean and touch it up now and then to keep it looking great.
Now, you’ll love the beauty and versatility of bead board walls even more. Whether it’s traditional or modern, it makes any room special. Enjoy the unique charm it brings to your home and be proud of your DIY project.