Ultimate Guide to Ceramic Tile Backsplash: Styles & Install
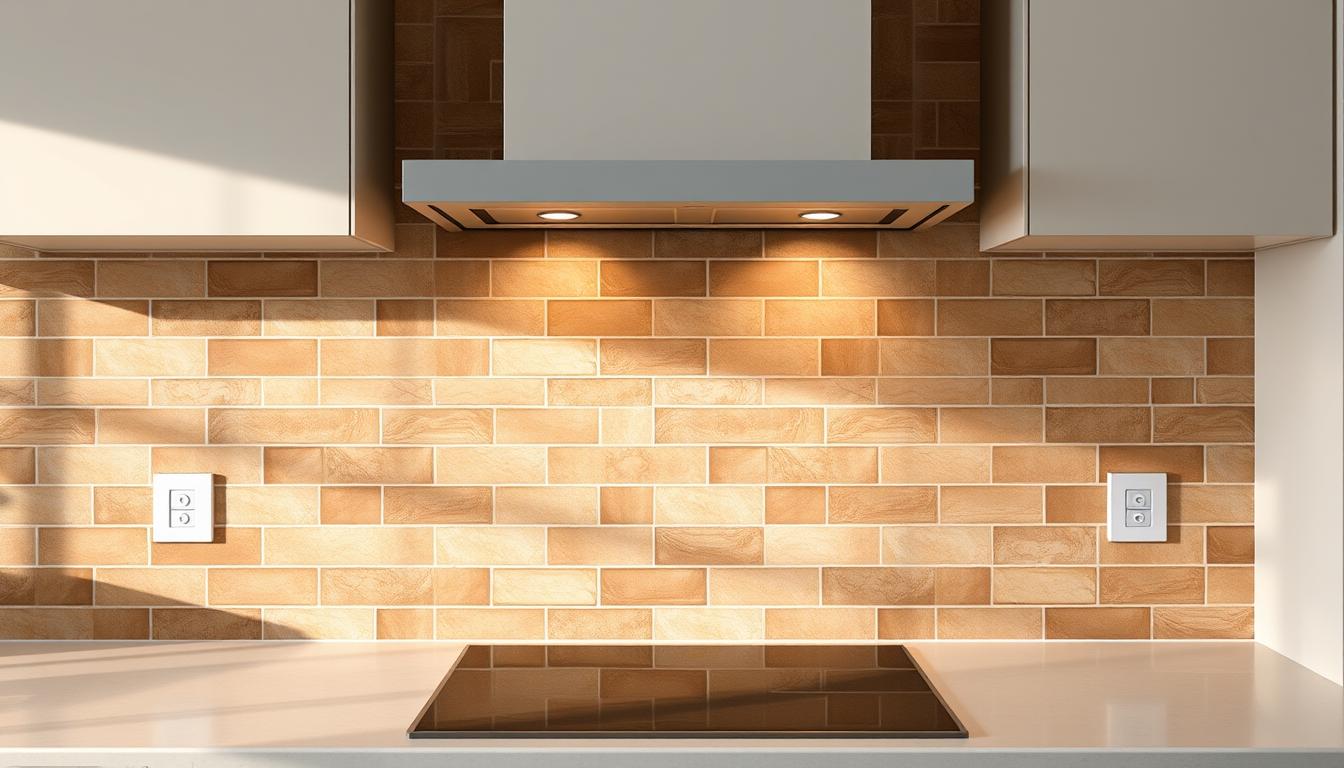
Did you know ceramic tile backsplashes are a top choice for kitchen remodels in the U.S.? They’re favored for their style and practicality. This guide will help you pick and install a ceramic tile backsplash that makes your kitchen look great.
Your kitchen backsplash does more than look good—it protects against spills and moisture. Ceramic tiles are a top pick because they’re tough, easy on the wallet, and come in many styles. Whether you like bold patterns or simple subway tiles, we’ve got you covered.
Key Takeaways
- Ceramic tile backsplashes cut cleaning time by resisting grease and stains.
- Over 80% of homeowners report higher kitchen resale value after ceramic tile upgrades.
- Modern backsplash designs now include customizable colors, shapes, and finishes.
- Proper installation techniques prevent cracks or peeling, saving repair costs long-term.
- Matching your tile style to kitchen cabinets boosts overall room cohesion and appeal.
Why Choose a Ceramic Tile Backsplash for Your Kitchen
Ceramic tile backsplashes are perfect for modern kitchens. They last long, making them a top choice. Their surface is non-porous, keeping grease and spills away.
Durability and Longevity Benefits
Ceramic tiles can handle heat from appliances and moisture. They don’t warp or fade like wood or plastic. With a scratch-resistant glaze, they stay shiny for decades with just a little care.
Cost-Effectiveness Compared to Other Materials
Ceramic tiles are a smart investment. They cost 30–50% less than natural stone or quartz but look just as good. Brands like American Olean and Crossville make tiles that last longer, saving you money in the long run.
Design Versatility and Options
Ceramic tiles fit any style, from classic to modern. You can mix colors or mimic marble without the high cost. This makes it easy to update your kitchen’s look whenever you want.
“Ceramic’s flexibility makes it the ultimate canvas for kitchen creativity.” — Kitchen & Bath Design News
Popular Ceramic Tile Backsplash Styles in 2023
Check out the newest backsplash trends for kitchen designs this year. The modern ceramic tile backsplash scene is all about bold, new styles. These styles mix beauty with function. Whether you want a small change or a big update, these tile backsplash ideas will inspire you.
- Hexagon Tiles: Geometric hexagons in earthy terracotta or soft grays add playful texture without overwhelming small kitchens.
- Picket Fence Patterns: Vertical staggered layouts mimic rustic fencing, pairing perfectly with farmhouse or coastal themes.
- Oversized Subway Tiles: Large-scale white subway tiles create clean lines, ideal for modern minimalist designs.
- Handmade Textures: Tiles with deliberate imperfections mimic artisan crafts, offering warmth in contemporary settings.
Texture-driven tile backsplash ideas are the 2023 standout—think carved surfaces or embossed patterns that catch light differently at every angle.
Rich jewel tones like deep sapphire or forest green make bold statements in traditional kitchens. Muted neutrals like clay or oatmeal ground modern spaces. For a timeless look, mix matte and glossy tiles in complementary shades. These backsplash trends show that even small spaces can be highlights with the right modern ceramic tile backsplash choices.
Understanding Ceramic Tile Types and Finishes
Choosing the right ceramic tile for your backsplash is all about knowing your options. Different types and finishes can change how your kitchen looks and works. Let’s explore the main differences to help you make a better choice.
- Glazed: These tiles have a glass-like layer that makes them stain-resistant and offers vibrant colors. They’re great for ceramic tile backsplash areas where spills happen.
- Unglazed: Without a coating, these tiles show the natural material. They’re less slippery but can stain more easily.
Matte, Glossy, and Textured Finishes:
A glossy ceramic tile for backsplash makes small kitchens look bigger by reflecting light. But, it shows fingerprints. Matte finishes hide smudges but lack shine. Textured tiles add depth and are perfect for modern ceramic tile backsplash designs, but they need regular dusting.
Porcelain vs. Non-Porcelain:
- Porcelain: Made from fine clay, it’s denser and frost-resistant. It’s best for high-moisture areas like stoves or sinks.
- Non-Porcelain: Lighter and cheaper, but less durable in wet zones. Brands like Crossville offer affordable options.
“Porcelain’s durability makes it a long-term investment, while non-porcelain tiles work well in low-traffic kitchens,” says Tile Pro Magazine’s 2023 guide.
Choosing the right tile for your kitchen means matching it to your needs. Focus on water resistance in busy areas and balance looks with ease of maintenance.
Color Selection Guide for Your Kitchen Aesthetic
Choosing the right color for your kitchen backsplash is key. Match your tile with your cabinets and countertops. Dark grays or whites look great with oak, while metallics add a modern touch. Make sure to test colors under different lights to get the look you want.
Complementing Your Countertops and Cabinets
Try light backsplash design tiles against dark quartz. Or match wood tones for a unified look. Subway tiles in matte black are perfect with white cabinets. Remember, a 6-inch swatch can help you choose colors for your walls.
Current Backsplash Color Trends 2025
- Earthy neutrals like terracotta and sage green are big in 2025.
- Monochromatic gradients add depth without overwhelming small kitchens.
- Biophilic designs use leaf-patterned tiles for a natural feel.
Using Color Psychology in Kitchen Design
Soft blues (backsplash design in cerulean shades) help you focus during meal prep. Warm amber tones near dining areas can boost your appetite. Crisp whites make spaces feel bigger. But, avoid bright reds in busy areas to avoid eye strain.
“The right color choice can make a kitchen feel 20% larger.” – Interior Design Magazine, 2024
Blend bold trends with timeless neutrals to protect your investment. Your tile choice should reflect your style and needs.
Creative Backsplash Patterns and Layouts
Make your kitchen pop with backsplash patterns that make tiles stand out. Classic styles like herringbone or subway tiles with a 1/4-inch offset are always in style. But, if you want something bold, try Moroccan fish-scale or geometric patterns for a modern twist.
Each tile backsplash idea changes how your kitchen feels. Vertical lines make small spaces look bigger. Horizontal layouts make areas feel wider. And diagonals add energy.
If you’re doing it yourself, start with simple designs. Basketweave or subway grids are great because they save materials and time.
- Herringbone: Zigzagging tiles create movement without overwhelming small spaces.
- Basketweave: Overlapping rectangular tiles for a rustic yet polished look.
- Moroccan Fish Scale: Interlocking hexagons for a Mediterranean-inspired focal point.
Think about your kitchen’s flaws when choosing a backsplash. A simple subway grid can hide small wall imperfections. For a big impact, place detailed patterns above your stove or sink.
When mixing patterns, do it carefully. Pair a geometric tile border with solid subway tiles to keep things balanced. Even small changes, like a checkerboard accent strip, can update your kitchen without a full-wall makeover.
Essential Tools and Materials for Ceramic Tile Backsplash Installation
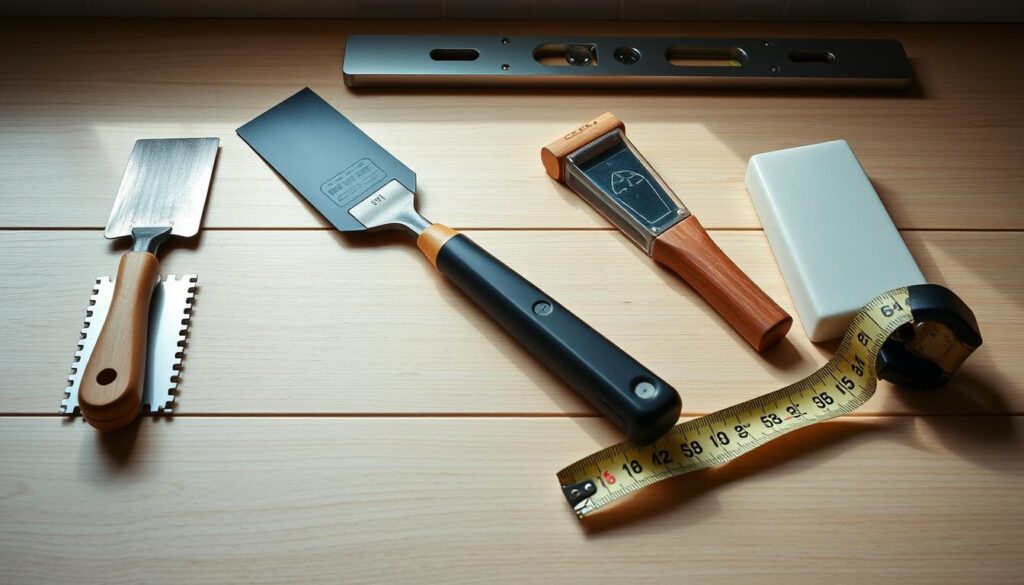
Getting good at backsplash installation means having the right tools and materials. Whether you’re doing it yourself or hiring someone, these items help you do a great job.
Must-Have Tools for DIY Installation
Start with these basics to avoid mistakes:
- Notched trowel: Spreads adhesive evenly. Use a 1/4″ x 1/8″ notch for most tiles.
- Tile spacers: Keep gaps between tiles for grout lines. Plastic or wax spacers work well.
- Circular saw or wet saw: Needed for cutting tiles precisely. Rent a wet saw for thicker tiles.
- Level and chalk line: Make sure lines are straight and surfaces are even.
Tip: Don’t go for cheap tools. A good tile cutter and trowel will last longer than disposable ones.
Types of Adhesives and When to Use Them
| Adhesive Type | Best For | Ideal For |
|---|---|---|
| Thinset | Heavy tiles, showers, or high-moisture areas | Porcelain tiles over cement backer boards |
| Mastic | Lighter tiles (ceramic under 1/2″ thick) | Kitchens and non-moisture areas |
Use mastic for low-moisture backsplash installation. But choose thinset for kitchens with lots of steam from cooking.
Grout Options and Selection Guide
| Grout Type | Pros | Cons | Best Use |
|---|---|---|---|
| Sanded | Strong for large gaps | Risk of cracking in tight joints | Tile spacing over 1/8″ |
| Unsanded | Smooth for narrow grout lines | Less durable in wide gaps | Close tile joints under 1/8″ |
| Epoxy | Mold-resistant, stain-proof | Requires professional mixing | High-traffic or humid areas |
Choose the best grout for tile backsplash based on tile spacing and kitchen use. Epoxy grout is great for areas with lots of stains but needs a pro to mix.
Step-by-Step DIY Installation Process
Turn your kitchen into a stunning space with this diy ceramic tile backsplash guide. Each step is crafted for accuracy, keeping your project on track. Start with these essential steps:
Surface Preparation Techniques
- Remove old backsplash materials with a pry bar and utility knife.
- Sand rough spots and apply primer to walls for better tile adhesion.
- Draw vertical lines with a level for tile alignment during backsplash installation.
Measuring and Planning Your Layout
Begin by marking the wall’s center. Snap chalk lines every 12 inches for a grid. Dry-fit tiles to see where cuts are needed for outlets or corners. Aim for symmetry, avoiding slivers less than 2 inches at edges.
Cutting Ceramic Tiles for Perfect Fits
For straight cuts, use a manual tile cutter. Curves need a wet saw. For shapes around outlets:
- Trace the outlet plate on the tile with a pencil.
- Score the outline with a tile cutter and nippers.
- Wear safety goggles when smoothing edges.
Proper Tile Setting Techniques
Spread thinset adhesive in 3-foot sections with a notched trowel. Press tiles firmly into place, tapping with a rubber mallet. Check alignment every 3 rows with a level.
Grouting and Finishing Touches
Use sanded grout for gaps over 1/8 inch. Apply with a rubber float at a 45-degree angle. Wipe excess with a damp sponge. Wait 24 hours before sealing with a penetrating sealer for stain resistance.
Common Installation Mistakes and How to Avoid Them
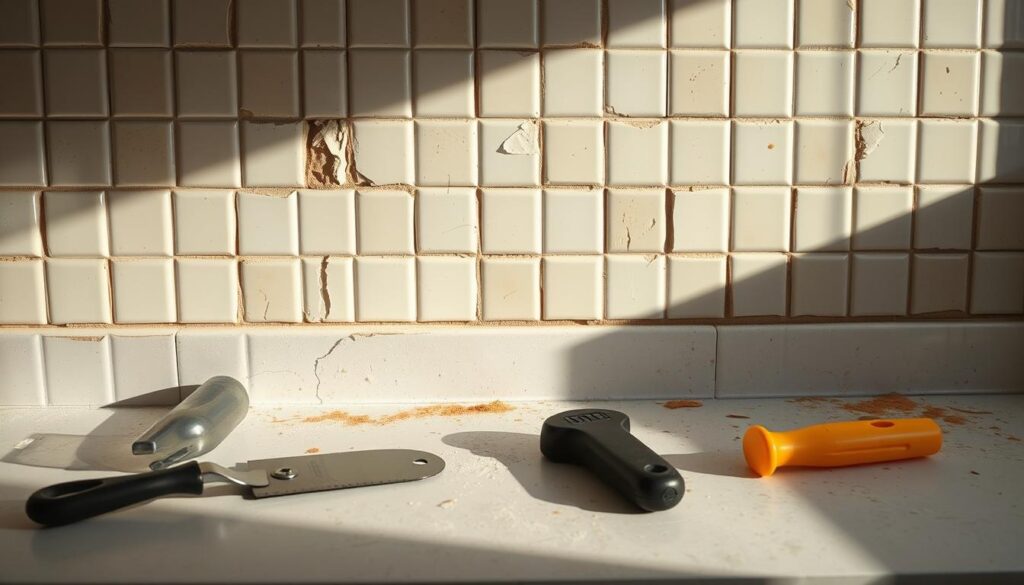
Skipping prep work is a big backsplash installation mistake. A clean, dry surface is key for adhesion. Always remove old materials and fill cracks before you start.
- Ignoring Layout Planning: Not planning your tile backsplash ideas can lead to uneven gaps. Use chalk lines to plan your layout first.
- Overmixing Adhesive: Thickened thinset dries too fast, causing tiles to slip. Mix small amounts and follow the manufacturer’s instructions.
- Forgetting Spacers: Tiles without spacers warp over time. Use plastic spacers for consistent gaps.
| Mistake | Solution |
|---|---|
| Skipping outlet template removal | Cut tiles carefully around electrical boxes after installation |
| Grouting too soon | Wait 24 hours after setting tiles before applying grout |
“Measure twice, cut once—this mantra saves time and materials.” —Tile Pro Magazine
Always use a level tool during your diy ceramic tile backsplash project. Don’t use harsh acids on grout; mild cleaners are better. Don’t overfill grout joints—wipe excess with a damp sponge right away. These tips help your project last longer and look great.
Ceramic vs. Glass Tile Backsplash: Which is Right for You?
Deciding between ceramic and glass tile backsplash depends on your kitchen’s needs. This guide helps you understand the differences. It will guide you in choosing the best materials for backsplash projects.
Appearance Differences
| Feature | Ceramic Tile | Glass Tile |
|---|---|---|
| Texture | Opaque, varied patterns | Transparent/shimmering finishes |
| Light Interaction | Softens ambient light | Reflects and amplifies light |
| Color Options | Earth tones, bold prints | Transparent, metallic hues |
Installation Complexity Comparison
Glass tiles need careful cuts and special adhesives because they are fragile. Ceramic is easier to work with, especially for DIYers. Here’s a quick comparison:
- Ceramic: Requires standard tools and room for minor mistakes
- Glass: Needs score-and-snap tools and steady hands to avoid cracks
Cost and Longevity Analysis
| Factor | Ceramic | Glass |
|---|---|---|
| Material Cost | $3–$15/sq ft | $5–$30/sq ft |
| Installation Labor | $10–$25/sq ft (DIY-friendly) | $20–$50/sq ft (often requires pros) |
| Longevity | 20+ years with proper care | 15–20 years if sealed regularly |
Choose ceramic for durability and ease. Glass is great for modern spaces where light reflection is key. Think about your budget, skill level, and style to make the right choice.
Maintaining and Cleaning Your Ceramic Tile Backsplash
Keeping your ceramic tile backsplash clean is key. Daily care stops stains and makes your kitchen last longer. Use a soft cloth and gentle cleaner after meals. Stay away from harsh sponges that can damage the surface.
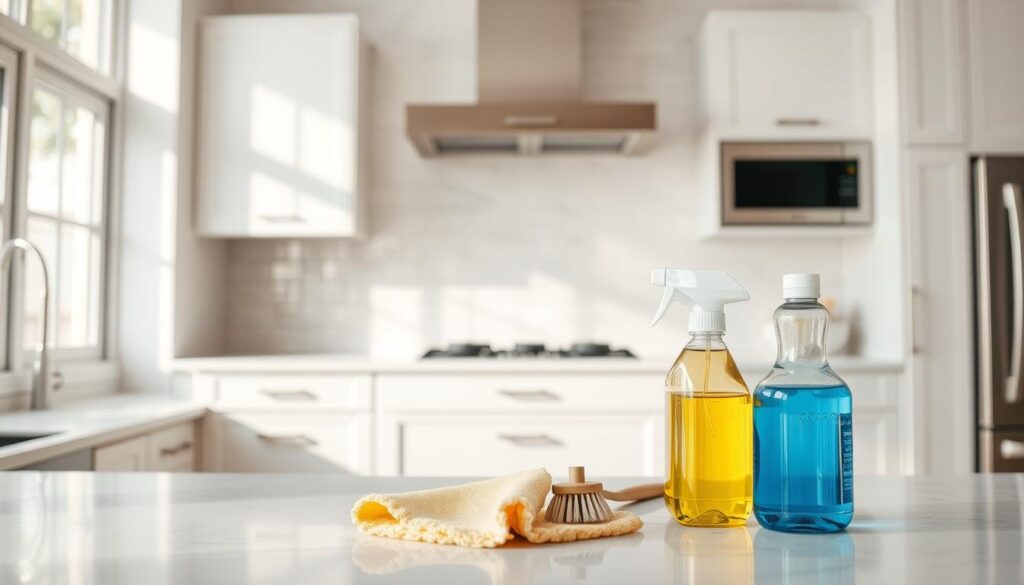
- Daily Routine: Clean with warm water and mild soap. Wipe spills right away to stop them from getting worse.
- Tough Stains: White vinegar can get rid of grease. For tomato stains, make a paste with baking soda and let it sit before scrubbing.
- Water Marks: Use a vinegar-water mix on shiny surfaces. Then, dry with a cloth that won’t leave lint.
Here’s how to keep your kitchen backsplash safe: Turn on exhaust fans while cooking to cut down on grease. Seal your grout every 1-2 years to keep moisture out. For textured tiles, gently brush off dirt with a soft brush.
Fix small chips or grout stains quickly. Use a grout brush with oxygen bleach. For tough stains on ceramic tile backsplash, try Tilex or Grout Boost. Always test a small area first.
“Regular maintenance doubles the longevity of any backsplash,” says the National Tile Contractors Association. “Five minutes a day prevents costly repairs.”
Choose cleaners that aren’t acidic for shiny finishes to avoid damage. Microfiber is better than steel wool. Follow these tips to keep your easy-to-clean kitchen backsplash looking great for years.
Budget-Friendly Ceramic Tile Backsplash Ideas
Make your kitchen look new without spending too much. These tips make ceramic tile for backsplash projects smart choices. Find tile backsplash ideas that are easy on your wallet but still stylish.
Affordable Ceramic Tile Options
Begin with tiles from big stores. Home Depot and Lowe’s have basic subway tiles for $1–$5 per sq. ft.. Look for sales at Wayfair or Ceramic Tile Warehouse. Brands like Daltile and Crossville offer good quality at reasonable prices.
Money-Saving Installation Tips
- Keep patterns simple to save on waste. Solid colors or straight lines can cut costs by up to 30%.
- Measure twice, order once. Get the exact square footage to avoid buying too much. Most projects need 10% extra for cuts.
- Rent tools like notched trowels instead of buying. Renting costs $20–$30, while buying is $50+.
Partial Backsplash Design Ideas
Use tiles wisely with these ideas:
- Stove-centric design Tile just the area above the range. This can save 75% of material.
- Border borders Use a 4”–6” high strip along the countertop edge. Perfect for $2–$3/sq. ft. subway tiles.
- Focal point accents Decorative tiles (like mosaic) in a 12”x12” area, with cheaper tiles elsewhere.
| Option | Cost Savings | Time Investment |
|---|---|---|
| Full backsplash | $$ | Higher |
| Partial backsplash | $$-$$$ | Lower |
| DIY installation | $2,000–$3,000 saved vs hiring pros | Variable |
When to Hire a Professional vs. DIY Installation
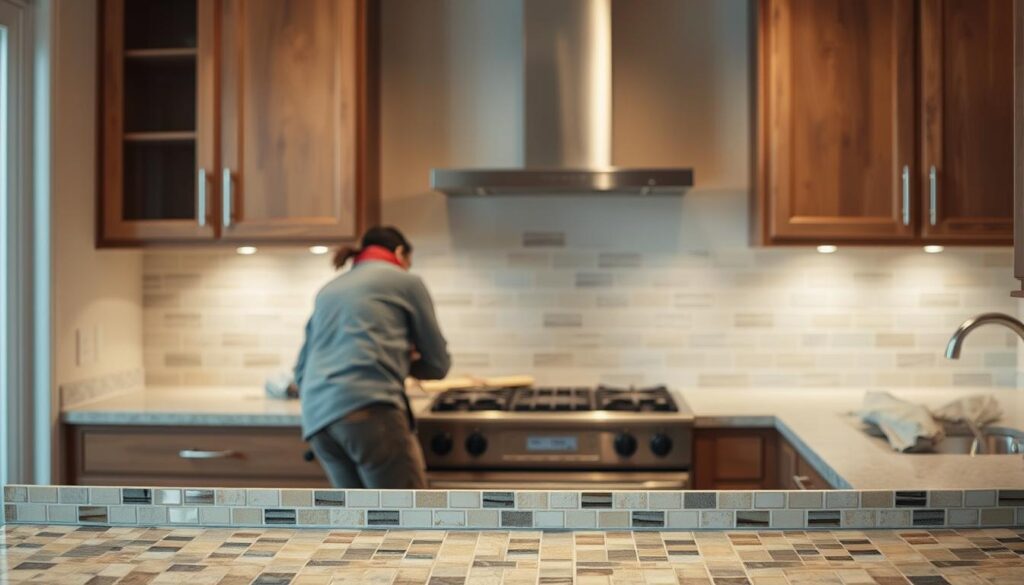
Choosing between backsplash installation as a DIY project or hiring a pro depends on several factors. Look at your skills, time, and the job’s demands to make a smart choice.
Project Complexity Assessment
First, consider these important factors:
- Wall condition: If your walls are crumbling or uneven, you’ll need a pro.
- Layout intricacy: Patterns like herringbone or intricate mosaics require expert precision.
- Tile specifics: Large or fragile tiles can be tricky for beginners.
- Tool access: Without the right tools like a wet saw or level, DIY can be a waste of materials.
Cost Comparison: Professional vs. DIY
Professionals charge $15–$40 per square foot for ceramic tile backsplash. DIY can save money upfront but might lead to hidden costs:
| DIY | Professional |
|---|---|
| $300–$800 for materials/tools | $200–$600/sq ft installed |
| Material waste due to mistakes | Warranty on labor |
“DIY works for simple layouts, but complex jobs justify pro expertise.” – Tile Contractor Magazine
Finding and Vetting Qualified Tile Installers
When hiring pros, follow these steps:
- Verify licenses: Look for local certifications like TCNA (Tile Contractors of America).
- Ask for 3+ references and inspect past projects.
- Check reviews on sites like Houzz or Angie’s List.
Ask candidates about their process, cleanup plans, and guarantees. Avoid contractors who refuse written contracts or skip measurements.
Future-Proofing Your Kitchen: Timeless Backsplash Designs
Choosing a backsplash design that lasts means finding a balance. Neutral colors like beige, gray, and white are popular for 2025. They’re easy to match with future decor. Clean geometric patterns or subtle textures add a modern touch without looking old.
Here are some tips to make your backsplash last:
- Choose backsplash design with modular pieces—mix small tiles with large ones for easy changes
- Go for matte or satin finishes over glossy ones to avoid looking outdated
- Use bold colors with removable mosaic accents instead of covering the whole wall
| Timeless Features | Trend-Dependent Features |
|---|---|
| Earthy ceramic shades | Glitter finishes |
| Subtle hexagonal patterns | Overly ornate carvings |
| Monochromatic gradients | Vivid neon accents |
“The best backsplash trends combine 60% neutral foundations with 40% adaptable elements,” says interior designer Emily Carter of TileCraft Studios. “This ratio ensures longevity without sacrificing personality.”
Experts predict backsplash color trends 2025 will include earthy terracotta and soft pastels. But using 80% neutral tiles lets you update easily. Choose ceramic tiles that can be changed with new grout colors. This way, your kitchen will stay stylish and valuable over time.
Conclusion: Transforming Your Kitchen with the Perfect Ceramic Tile Backsplash
A ceramic tile backsplash is more than just an upgrade. It’s a mix of style and lasting quality. This guide has shown how these tiles offer durability and a wide range of designs. You can pick from bold patterns to subtle textures, fitting any kitchen style.
Choosing the right design is key. Options range from geometric layouts to neutral palettes. Brands like Crossville and Floor & Decor offer high-quality choices. Using the right adhesives and grouting ensures your backsplash lasts long.
Begin by checking out ceramic tile samples at stores like Home Depot or online at Wayfair. Look at installation guides to avoid mistakes. Share your work on social media to get ideas. With this guide, your ceramic tile backsplash will be a beautiful and lasting part of your kitchen. Start now to make a space that shows off your style and meets your kitchen’s needs.

