5 Installation Issues with Small Recessed Lights & Fixes
Did you know that 40% of small recessed light installations in U.S. homes have at least one big mistake? These lights are known for their sleek designs and saving energy. But, mistakes like wrong ceiling cuts or bad wiring can make them unsafe or ugly.
This article will cover the five main problems: wrong cuts, not enough space, electrical errors, insulation issues, and dimming problems. We aim to help you avoid expensive fixes and make sure your lights work perfectly.
Key Takeaways
- Over 40% of DIYers face installation errors with small recessed lights.
- Incorrect ceiling cutouts cause 28% of reported lighting failures.
- Electrical wiring issues rank as the third most frequent problem in recessed lighting projects.
- Dimming compatibility affects 15% of LED recessed fixtures in residential use.
- Proper insulation around recessed lighting fixtures prevents heat-related damage.
Understanding Small Recessed Lights and Their Applications
Small recessed lights are great for modern spaces. They are also known as mini recessed lights or compact can lights. These lights fit in tight spots without losing brightness.
What Are Small Recessed Lights?
Small recessed lights are sleek fixtures under 5 inches in diameter. They have adjustable trims and use energy-efficient LEDs. Brands like Juno and Tech Lighting offer sizes under 4 inches, perfect for finished ceilings or attic spaces.
Popular Locations for Small Recessed Lighting
- Kitchens: Under cabinets to highlight countertops
- Bathrooms: Above vanities for task lighting
- Narrow hallways: To brighten walkways without visual clutter
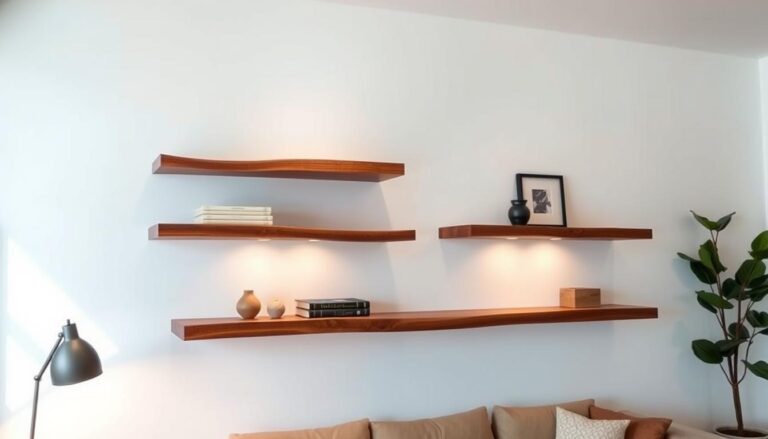
- Shelving: Accent pieces with adjustable beam spreads
Benefits of Compact Lighting Solutions
These lights save space and look good. They fit well in modern homes and provide focused light. They also make renovations easier, needing smaller cuts in ceilings.
Look for models that can be dimmed. This lets you change the mood in any room.
Tools and Materials Needed for Installing Small Recessed Lights
Before you start installing small recessed led lights, make sure you have all the tools and materials. This way, you won’t run into delays during the project. Getting everything ready beforehand helps you work safely and efficiently.
- Essential tools: Wire strippers, voltage testers, hole saws, and fish tape for wire routing.
- Safety gear: Gloves, safety glasses, and dust masks to protect against debris and electrical hazards.
- Electrical components: Junction boxes, wire connectors, and dimmers compatible with LED systems.
- Mounting hardware: Brackets designed for compact fixtures and heat-resistant wires rated for LED use.
Choose tools that fit your fixture’s needs. For instance, the hole saw size should match your recessed lighting fixtures. It’s also important to use heat-resistant wire for LED models to avoid overheating. Fish tape makes wiring through tight spaces easier.
If you’re new to this, consider universal kits that come with basic tools. Always check local electrical codes before buying materials. Using professional-grade tools like voltage testers is crucial for working with live circuits.
Issue #1: Improper Ceiling Cutout Dimensions
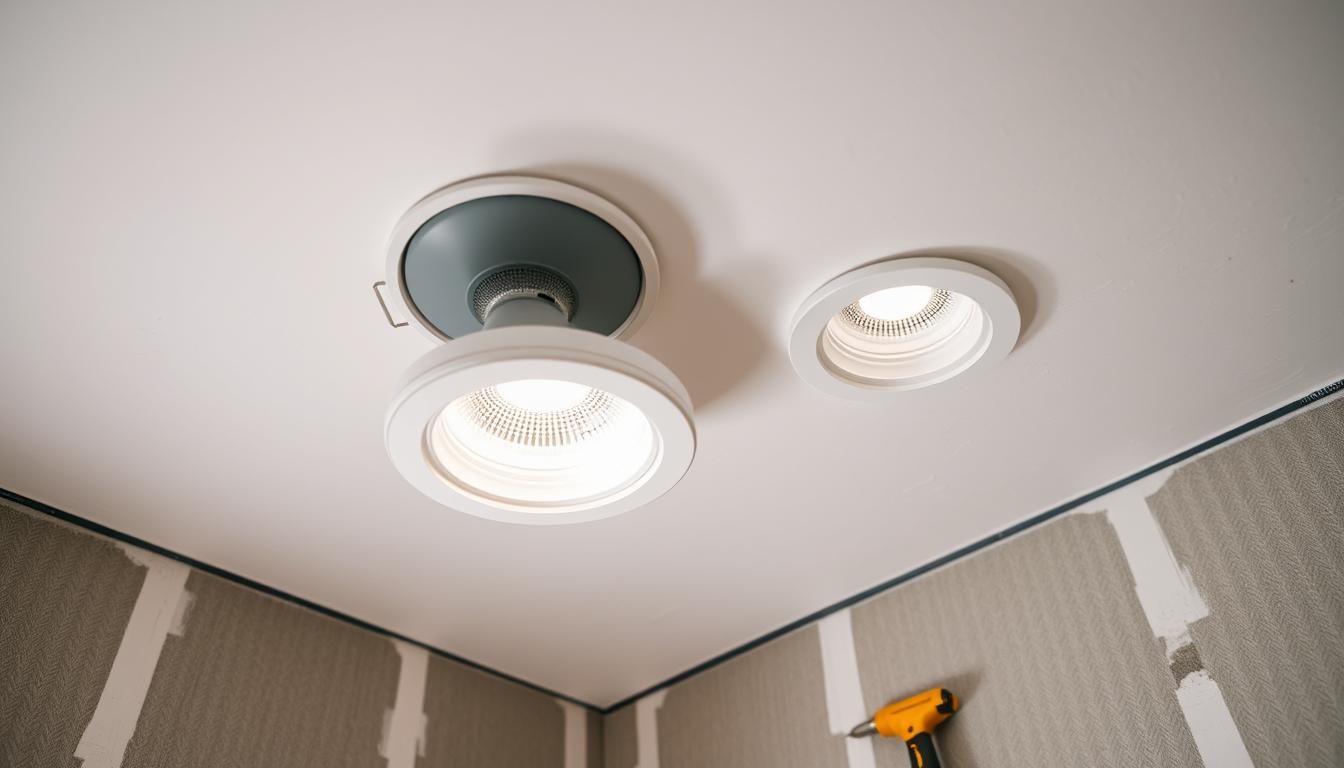
Improper ceiling cutouts can cause gaps, uneven fixtures, or even safety hazards. This is especially true when installing small recessed lights. It’s crucial to measure accurately to avoid these problems. Let’s explore how to sidestep this common error.
Measuring Correctly for Your Specific Light Model
First, check your fixture’s manual for the exact cutout sizes. Use a template from the lights to mark the ceiling. For narrow recessed lighting, measure twice. Once for the housing and once for the trim. A small mistake here can save you a lot of time and materials later.
Tools for Precise Cutting
- Adjustable hole saws: Ideal for varying ceiling depths.
- Drywall saws: Best for quick cuts in standard ceilings.
- Rotary tools: Perfect for tight spaces or angled cuts.
Choose the right tool for your ceiling type (drywall vs. wood) to ensure accuracy.
How to Fix Oversized Holes
| Issue | Solution | Tools Needed |
|---|---|---|
| Too-wide hole | Install an adapter plate | Adapter kit, screwdriver |
| Overly large gaps | Patch with drywall compound | Patching compound, putty knife |
| Visible gaps around trim | Upgrade to a wider trim style | Larger trim kit |
Always test-fit the fixture before making the final cut. A small mistake can mean the difference between a smooth install and a repair job.
Planning Your Small Recessed Lighting Layout
Before you start installing recessed lighting fixtures, plan your layout carefully. This ensures even light without shadows or glare. First, figure out how far apart your lights should be to light the space right.
Determining Optimal Spacing
Here’s a simple formula to find the right spacing: Distance = (Ceiling Height in Feet x 1.5) + 12 inches. For example, if your ceiling is 8 feet high, your lights should be 24 inches apart. Low profile recessed lights might need to be closer to keep the area bright. Check the light’s output in lumens to adjust the spacing.
Creating a Lighting Plan
- Sketch your room dimensions to scale
- Mark furniture locations and focal points
- Overlap light zones using a grid pattern for even coverage
- Leave 18″ buffer zones near windows and walls
Common Layout Patterns for Different Room Types
| Room Type | Recommended Layout | Key Considerations |
|---|---|---|
| Kitchens | Grid pattern | Focus on countertops using 4″ or 6″ fixtures every 3-4 feet |
| Living Rooms | Perimeter + accent spots | Place fixtures 3′ from walls to prevent shadows |
| Bathrooms | Strip lighting | Mount fixtures 36″ above vanities for task lighting |
| Home Offices | Task-oriented clusters | Position fixtures 18″-24″ from desks |
Low profile models let you place lights closer without losing ceiling appeal. Always check local building codes before you start.
Issue #2: Insufficient Clearance Above Ceiling
Installing recessed lights in tight spaces is a big challenge. Older homes and concrete-slab ceilings often have less than 2 inches of space. Standard fixtures need 4–6 inches of depth, which is too much.
Before buying, measure the space between your ceiling and what’s above. Things like HVAC ducts or wiring bundles can make it even tighter.
Ultra-thin recessed lights are the answer, needing only ½ inch of clearance. They use slim LED arrays instead of big incandescent bulbs. Low profile recessed lights also save space with new wiring and drivers.
Compare old models needing 4+ inches to new ones like Juno’s Slimline series. They save 75% of vertical space.
- Check clearance with a depth gauge or ruler extended into the ceiling cavity
- Choose fixtures rated for zero-clearance installation if insulation touches the housing
- Mount fixtures at least 3 inches away from ductwork or electrical conduits
Modern ultra-thin recessed lights come with adhesive brackets for uneven surfaces. Always check local electrical codes before cutting into ceilings. These compact solutions avoid the need for big changes while keeping the light bright.
Types of Small Recessed Lights for Different Scenarios
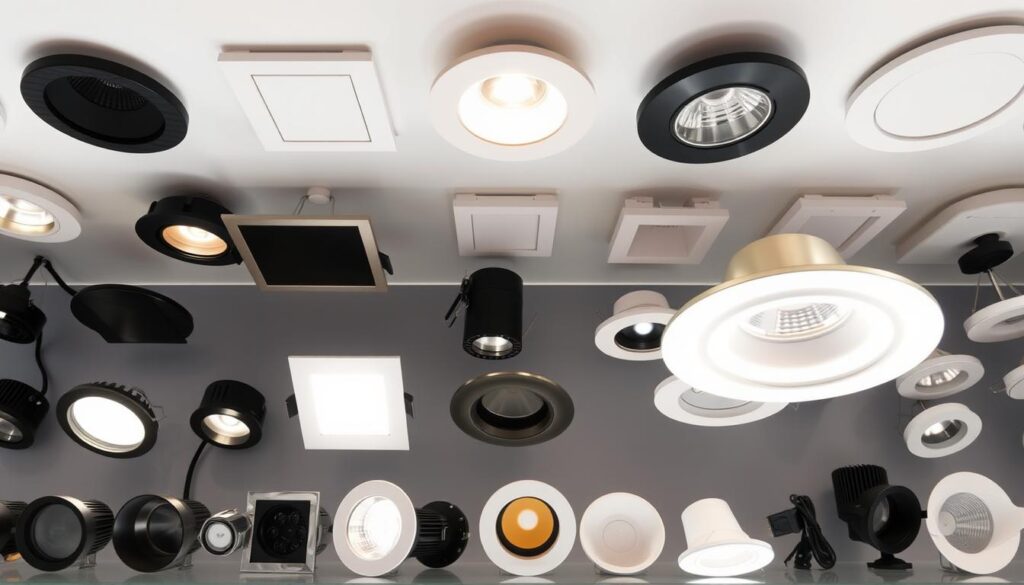
Choosing the right small recessed light depends on your space and goals. There are three types for specific needs:
Ultra-Thin Recessed Lights for Limited Space
Ultra-thin recessed lights are perfect for small spaces. They are less than 1 inch thick. This makes them great for old homes or rooms with low ceilings.
They fit well in attics or buildings with concrete slabs. Brands like Juno or Lithtech offer designs that fit into tight spaces.
- Depth: 0.75–1 inch
- Applications: Tight attic spaces, older homes
- Key feature: Slim housing for inaccessible ceilings
Waterproof Recessed Lights for Bathrooms
“IP65-rated fixtures are required in bathroom zones 1 and 2 per NEC guidelines.”
Waterproof recessed lights, like the Halo WET300 series, are perfect for bathrooms. They have an IP65+ rating to handle splashes and humidity. They’re also good for wet areas, like showers.
Look for models with silicone seals to keep moisture out.
Adjustable Small Recessed Lights for Accent Lighting
Adjustable recessed lights can move up to 30 degrees. Brands like Tech Lighting have rotatable heads. They’re great for highlighting art or creating wall-washing effects.
They’re perfect for accenting bookshelves or architectural details.
| Type | Features | Applications | Key Benefit |
|---|---|---|---|
| Ultra-Thin | 0.75″ depth, low profile | Low-ceiling spaces | Space optimization |
| Waterproof | IP65 rating, silicone seals | Bathroom zones 1-2 | Moisture protection |
| Adjustable | Gimbal rotation, directional beams | Accent lighting | Custom beam control |
Use the chart to compare different options. Look at light output, energy efficiency, and ease of installation. Choose brands with 5-year warranties for durability.
Issue #3: Electrical Wiring Problems
Electrical wiring issues can make small recessed led lights a big problem. It’s important to understand these challenges to ensure your lighting system works right. Let’s look at the main areas to focus on.
Common Wiring Mistakes
Many mistakes happen because people forget about LED-specific needs. Here are some common errors to avoid:
- Using the wrong wire gauge for your fixture’s amperage
- Overloading circuits beyond their rated capacity
- Ignoring compatibility between dimmable recessed lighting and existing dimmer switches
Safety Precautions When Working with Electricity
Keep yourself and your home safe by following these steps:
- Turn off power at the circuit breaker, not just the switch.
- Use a voltage tester to confirm wires are de-energized before handling.
- Verify local electrical codes before installing.
Troubleshooting Electrical Issues
Spot problems early with this checklist:
“Mismatched dimmers and drivers are the top cause of flickering in LED systems,” says a certified electrician. Check for:
- Flickering lights? Ensure your dimmer is compatible with LED drivers (check manufacturer specs).
- Partial illumination? Verify all wire connections are secure.
- Dimming irregularities? Confirm the dimmer’s minimum load matches your fixture’s requirements.
Always test circuits with an outlet tester after installation. For persistent issues, consult a licensed electrician.
Energy Efficiency Considerations for Small Recessed LED Lights
Choosing energy-efficient recessed lights saves money and helps the environment. Small recessed LED lights use up to 75% less energy than incandescent bulbs. They also last 25 times longer. Here’s how to get the most out of them.
- LEDs vs. CFLs vs. Incandescents: LEDs use fewer watts for the same light, saving up to $50 a year per fixture.
- Lumens per watt is important: Choose 80+ lumens/watt for brighter light without using more energy.
- Color temperature (2700K-5000K) affects how bright it seems—warmer tones (2700K) use similar energy but make spaces cozy.
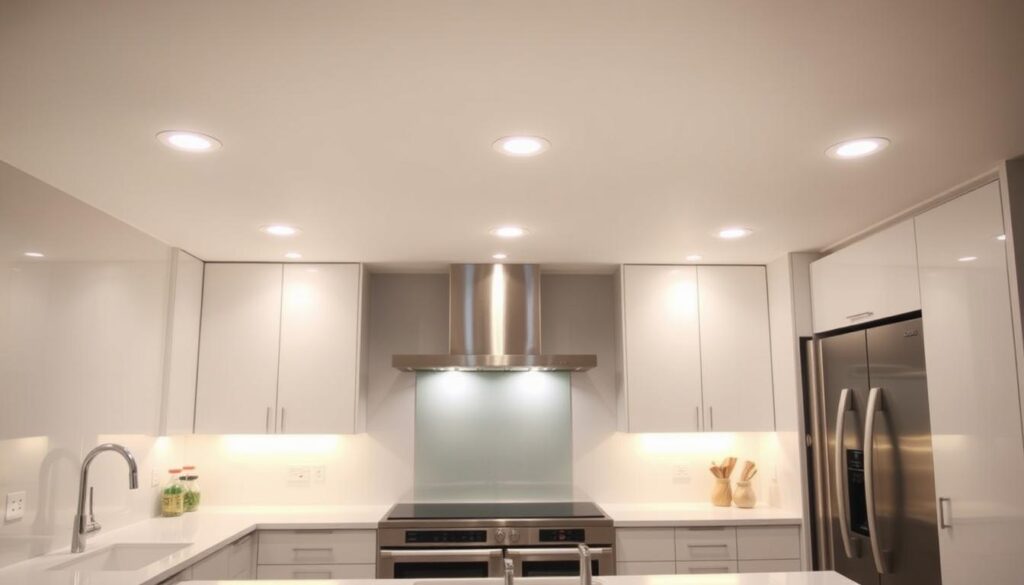
Look for Energy Star-certified fixtures for guaranteed savings and rebates. Features like integrated sensors or smart controls can dim automatically, saving even more energy. Make sure to install them correctly to avoid overheating, which can lower efficiency over time.
Connecting these lights to smart home systems can automate turning them off when not in use. Switching to small recessed LED lights can save you over $300 compared to incandescent bulbs over their lifetime.
Issue #4: Inadequate Insulation Around Fixtures
Insulating recessed lighting fixtures properly is key for safety and efficiency. Not doing so can cause overheating or even fires. Modern small recessed led lights need the right space to work safely.
Understanding IC vs. Non-IC Rated Fixtures
IC-rated fixtures, like those from Juno or Hubbell, are safe with insulation. Non-IC models need at least 3 inches of space. Mixing them wrong can cause overheating. Always check the manufacturer’s specs before you install.
“IC ratings confirm fixtures can safely touch insulation. Misapplying this can void warranties and create hazards,” states the National Electrical Code (NEC).
Proper Insulation Techniques
- Use IC-rated fixtures in tight spaces where insulation touches the housing
- Install baffles in non-IC fixtures to maintain air gaps
- Wrap non-IC housings with fire-resistant barriers when code allows
Preventing Heat Buildup
LEDs in small recessed led lights make less heat than old bulbs but still need air. Use vents in the fixture design. Don’t seal vents during installation. Check attic insulation to ensure it doesn’t block heat dissipation paths.
Modern thermal management systems in brands like Lithonia or Eaton include heat sinks to improve airflow. Regular inspections prevent dust buildup that blocks cooling channels.
DIY vs. Professional Installation: What You Need to Know
Deciding to install recessed lighting yourself or hire a pro depends on your skills and the project’s needs. Micro recessed lights, with their small parts, often need a pro to ensure safety and efficiency.
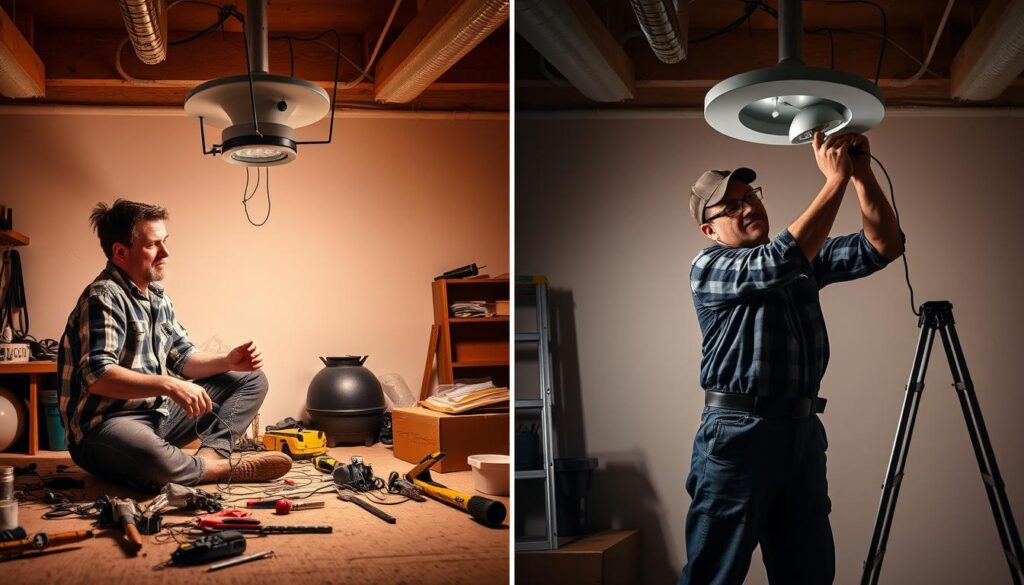
When to Call an Electrician
Some situations require a licensed professional:
- New electrical circuits or service panel modifications
- Old wiring in homes built before 1980
- Complex dimming systems or smart home integrations
- Installations in damp areas like bathrooms (micro recessed lights here need waterproof ratings)
Cost Comparison
| Region | Average Electrician Rate |
|---|---|
| Northeast | $90–$120/hr |
| Midwest | $65–$85/hr |
| Southeast | $70–$90/hr |
| West Coast | $80–$110/hr |
Professional costs include labor and expertise. DIY savings might come with hidden expenses:
- Material markup (pros may get bulk discounts)
- Tool rentals (e.g., voltage testers, fish tapes)
- Fixing mistakes could double costs
Use this checklist to decide: Skill level? Time available? Budget buffer? Micro recessed lights demand precision—prioritize safety over savings.
Issue #5: Dimming Compatibility Issues
Dimming dimmable recessed lighting with small recessed led lights can cause flickering or buzzing. This is due to dimmer switches not being compatible with LED technology. We will look at solutions for common problems.
There are three main dimming systems that can cause issues:
- Triac (Forward-Phase): Works with some LEDs but may cause flicker.
- ELV/Reverse-Phase: Better for low-voltage systems.
- 0-10V: Uses dedicated controls for precise dimming.
Here’s a table to help match dimmers to LED types:
| Dimmer Type | Compatible LED Fixtures |
|---|---|
| Lutron Diva | Most small recessed led lights (check spec sheets) |
| Leviton Quantum | 0-10V commercial-grade LEDs |
| Philips Lumea | ELV systems only |
- Replace old incandescent dimmers with LED-specific models
- Ensure total wattage meets dimmer minimum load requirements (e.g., 60W minimum for many Lutron switches)
- Use load resistors if your setup falls below dimmer requirements
Always check if your small recessed led lights and dimmer brands are compatible. Look at manufacturer guides for voltage ranges and dimming curves. For smart systems, use Wi-Fi enabled dimmers like Philips Hue or Osram Lightify.
How to Choose the Right Trim and Style for Your Small Recessed Lights
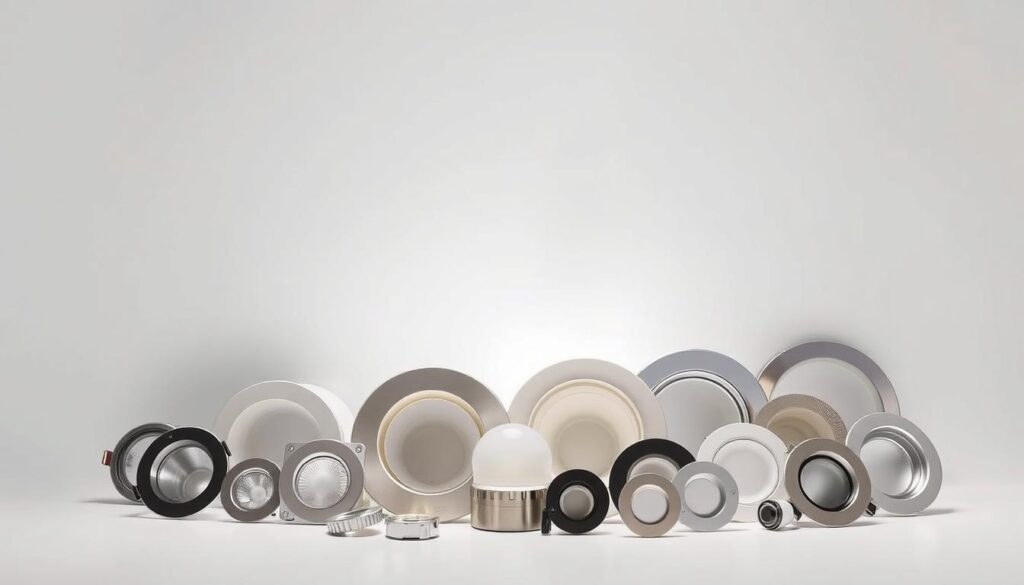
Choosing the right trim for small recessed lights is key. It makes your space look good and work well. Trims control how light spreads, cut down glare, and fit with your decor. Here’s how to pick the best one:
Trim Options and Their Benefits
- Baffle Trim: Reduces glare while diffusing light for a clean look.
- Reflector Trim: Boosts brightness in kitchens or offices with polished finishes.
- Wall-Wash Trim: Ideal for highlighting art or shelves with directional light.
- Adjustable Trim: Customizable beams for accentuating architectural features.
- Pinhole Trim: Sleek and minimal, perfect for modern micro recessed lights.
Matching Fixtures to Your Interior Design
| Finish Type | Best For | Key Benefits |
|---|---|---|
| White | Contemporary kitchens, minimalist spaces | Blends into ceilings seamlessly |
| Black | Modern bathrooms, high-contrast rooms | Reduces visual prominence |
| Brushed Nickel | Traditional or transitional designs | Adds subtle metallic accents |
Match trims with your room’s size. For example, micro recessed lights in small spaces stay low. Baffle trims are great in open areas. Try samples in natural light before installing.
Maintenance Tips for Long-Lasting Performance of Micro Recessed Lights
Keeping micro recessed lights in top shape is key. Clean the lenses every month with a soft cloth to get rid of dust. Dust can cut down on light and make the lights work harder.
- Use a vacuum’s soft brush attachment to remove debris from housing.
- Check electrical connections annually for loose wires that waste energy.
Look at the seals around the fixtures twice a year. If they’re cracked or worn, moisture can get in and harm the circuits. Fix them right away. Also, watch for flickering lights, which can mean loose connections or overheating.
| Issue | Cause | Solution |
|---|---|---|
| Lens discoloration | Oxidation from humidity | Clean with isopropyl alcohol and a lint-free cloth. |
| Moisture infiltration | Compromised seals | Install weather-resistant gaskets rated for wet locations. |
| Thermal stress | Poor ventilation | Add airflow space around fixtures during installation. |
Seasonal checks are crucial. After extreme temperatures, check if the housing has warped. Also, test dimmers twice a year to avoid electrical strain. Replace LEDs every 50,000 hours or when light dims.
“Preventative care adds years to fixture life,” says the Lighting Research Center. “Regular cleaning maintains 90% of original brightness.”
Get a pro to check on hard-to-reach installations every 3-5 years. Proper care keeps energy-efficient recessed lights shining bright and safe.
Transforming Spaces with Creative Small Recessed Lighting Applications
Small recessed lights aren’t just for ceilings. They can change how we see spaces. Learn how to use narrow recessed lighting and adjustable recessed lights to make a big impact:
Kitchen Under-Cabinet Lighting
Put narrow recessed lighting under cabinets to get rid of shadows. Use lights that are 2-3 inches wide for small spaces. A tip: Add dimmable LEDs for the right light balance.
- Choose moisture-resistant models for humid kitchens
- Align lights 12–18 inches apart for even coverage
Bathroom Vanity Enhancement
Place adjustable recessed lights above vanities to cut down on glare. Tilt them 15–20 degrees down for soft light. Mix with vanity strip lights for more light.
- Use IP65-rated fixtures in steamy areas
- Select 3000K warm white tones for relaxing vibes
Accent Lighting for Artwork
Use adjustable recessed lights to highlight art. Aim 30° beam angles at 45° from the wall for a strong effect. For shelves, put fixtures 12 inches above displays for clear views.
| Application | Key Feature | Installation Tip |
|---|---|---|
| Kitchen | Shadow-free zones | Mount 6 inches below cabinets |
| Bathroom | Glare reduction | Use adjustable tilt mechanisms |
| Artwork | Directional focus | Test beam spread with temporary tape |
Getting the right placement and choosing the right lights can turn any room into a masterpiece. Focus on beam angles and spacing for a smooth look.
Conclusion: Ensuring Successful Installation of Your Small Recessed Lights
Installing small recessed lights correctly makes your space better without problems. You need to think about cutout sizes, wiring, and insulation gaps. Choosing energy-efficient lights saves money and fits with green home trends.
Look for brands like Cree or Philips for lights that fit tight spaces. Their smart lights work with home systems, showing the latest in lighting tech. Always check local electrical rules and get help for tricky setups.
Use a checklist for measurements, wiring safety, and fitting the fixtures right. Quality materials and planning make your lights last longer. This improves your home’s value and comfort.
Spending time on the installation means your lights work well for a long time. Energy-saving lights cut down on costs without losing brightness. Whether it’s a kitchen or bathroom update, focus on precision and innovation for lasting lighting.

